
Contents
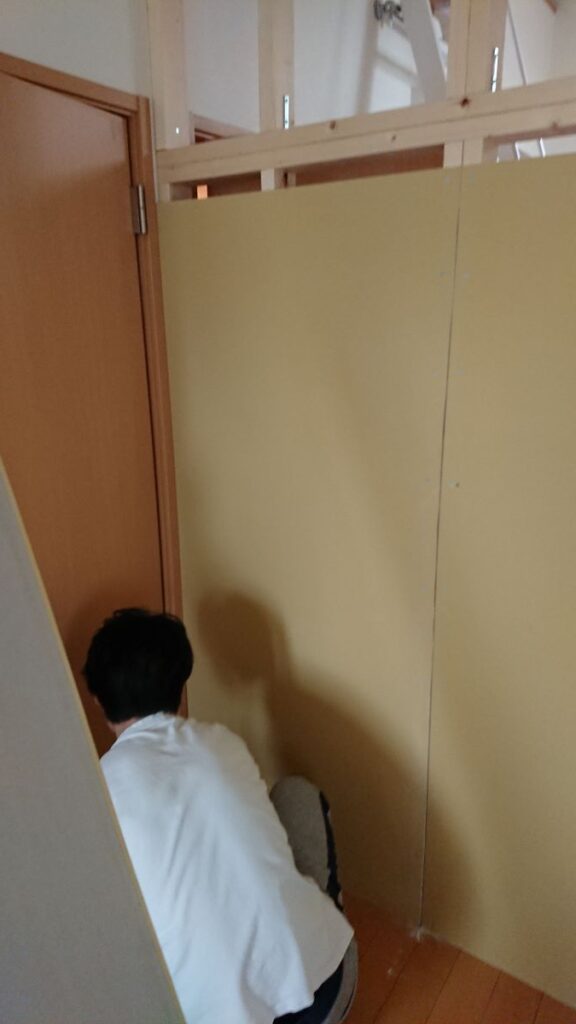
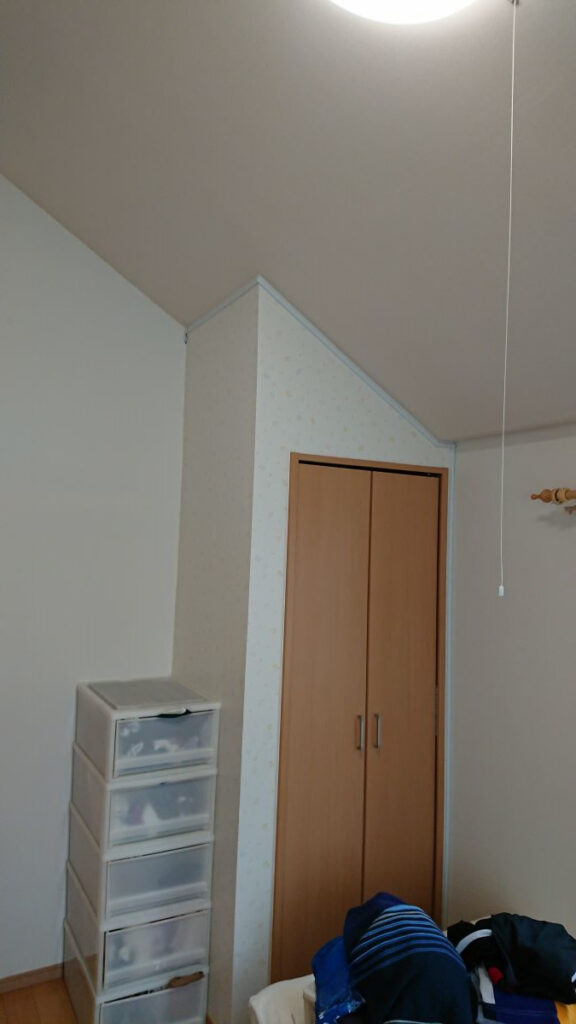
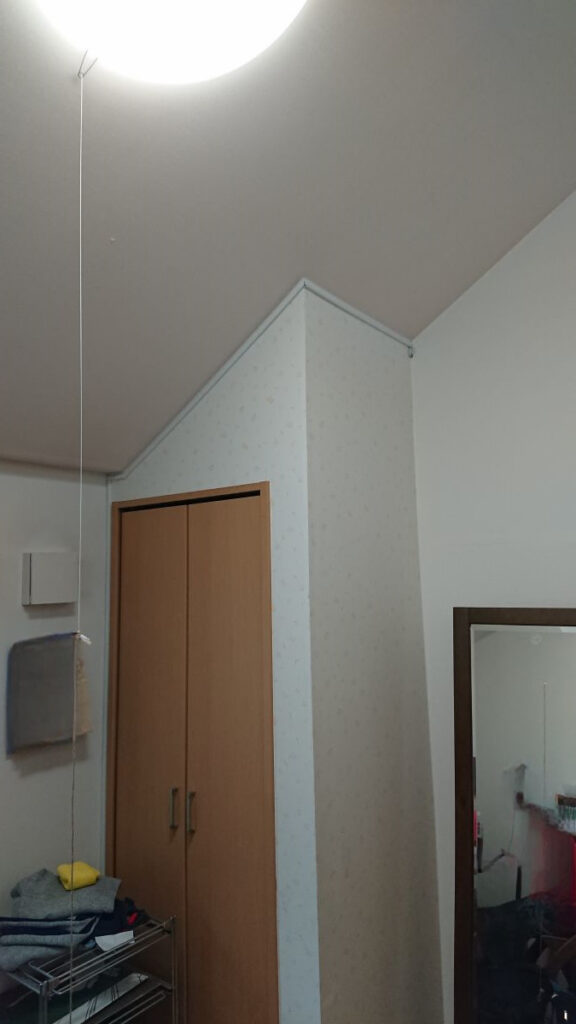
設置前
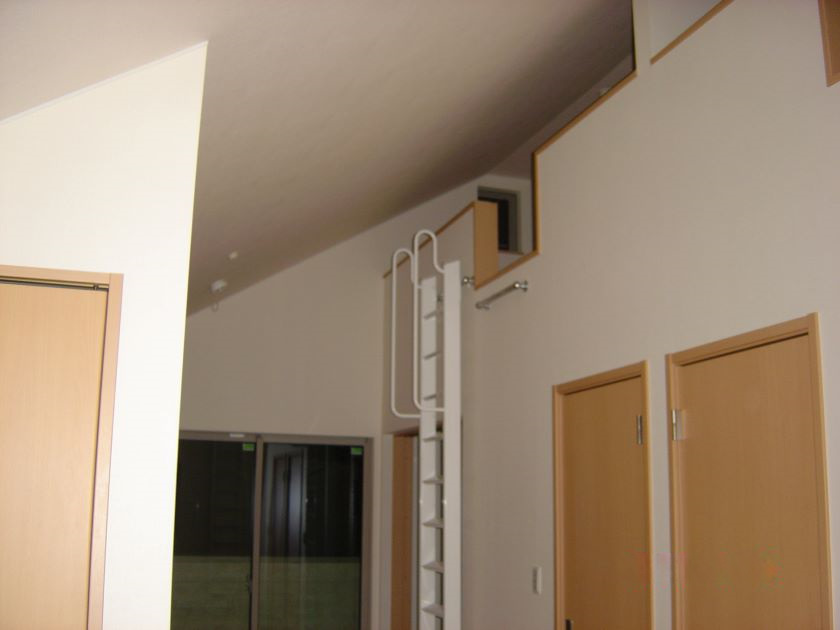
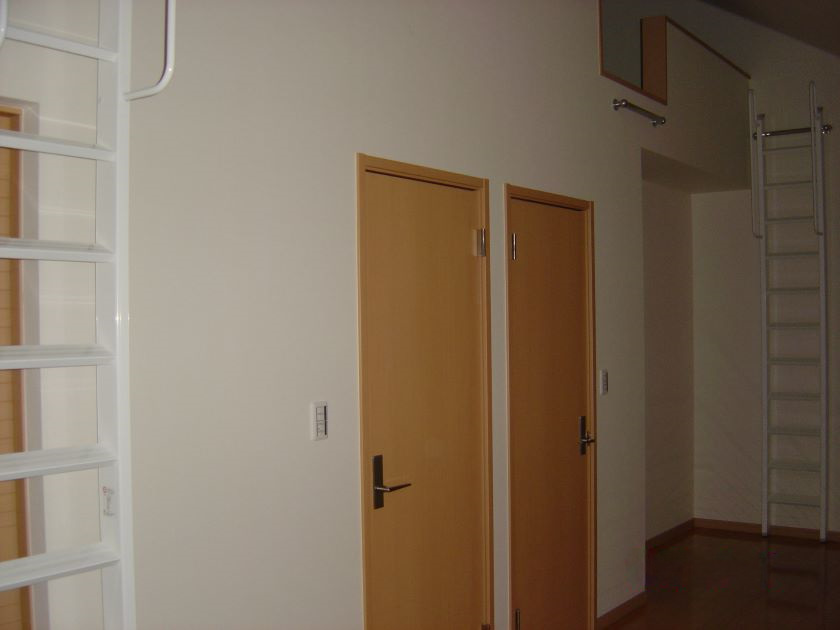
子供(兄妹)の成長に伴い、予定通り子供部屋を仕切ることに。
設計時に、将来的に壁が設置できるように位置を設定してあり、ドア、クローゼットも対称になっている。煙式火災報知器も両側に設置済み。
DIYで壁を設置、ポイントは通常の防音ができること。
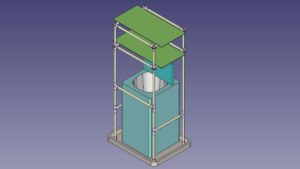
壁の設計
設計手順
- 壁設置場所の測量 注文住宅の場合は施工仕様図、設計図の寸法と現物の測量値を確認する
- 勾配天井の場合は非常に測量が難しく、誤差が出来栄えに大きく影響するので注意(泣)
- つなぎ目の強度が保てるように、フレームと面張の境目を合わせないようにする
- 2X4木材と石膏ボードには定尺があるので、加工をなるべく少なくなるようにする
- 資材の購入数が少なくなるようにする
- 誤差が出たときの逃がし場所を決めておく。この場合は上部斜面の鋭角頂点を10mm下げて設計した。
- アンテナ端子、LAN端子が片側の部屋にしかない場合は、あらかじめ配線経路を確保する。
- 設計はFree CAD 3Dがおすすめ。
必要資材と費用合計
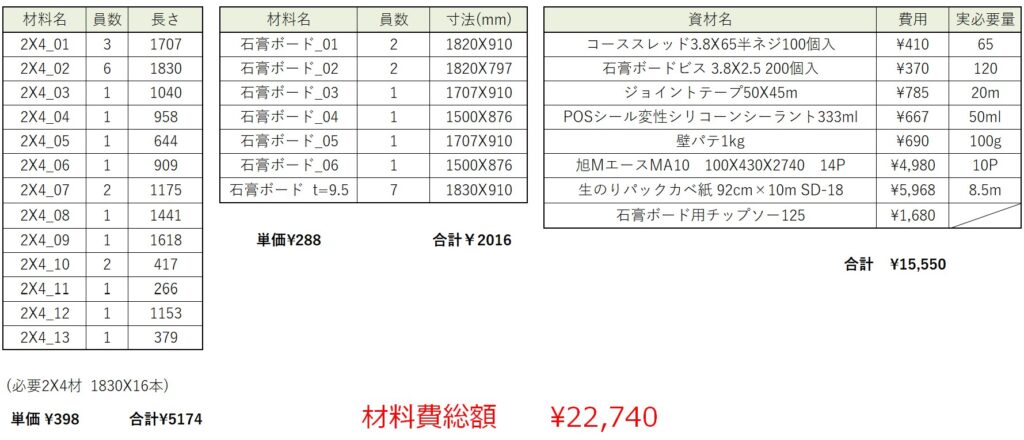
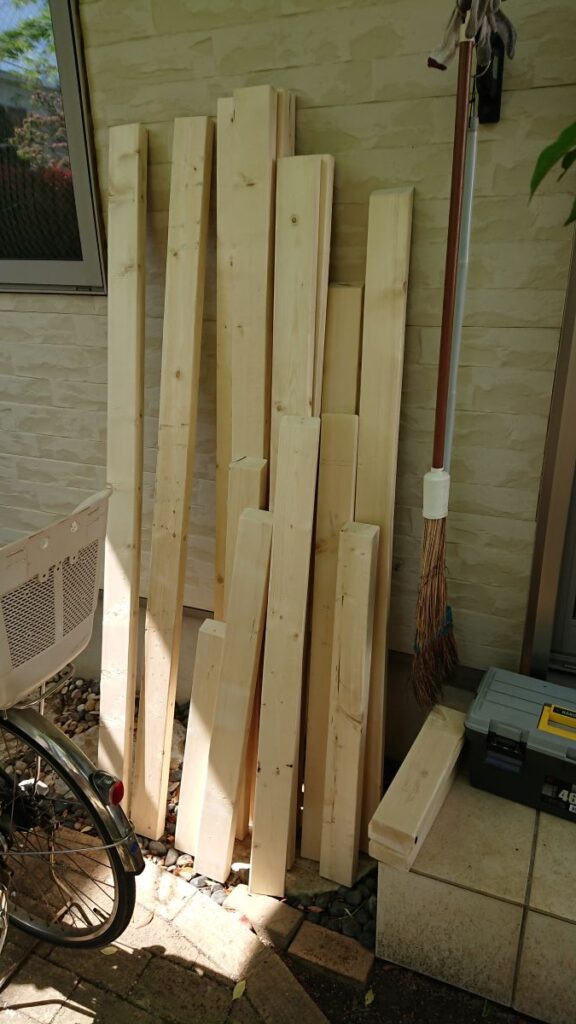
- 2X4材はコスパのいい、定尺1830mmを購入して、ロスが少なくなるように配置(設計が重要)
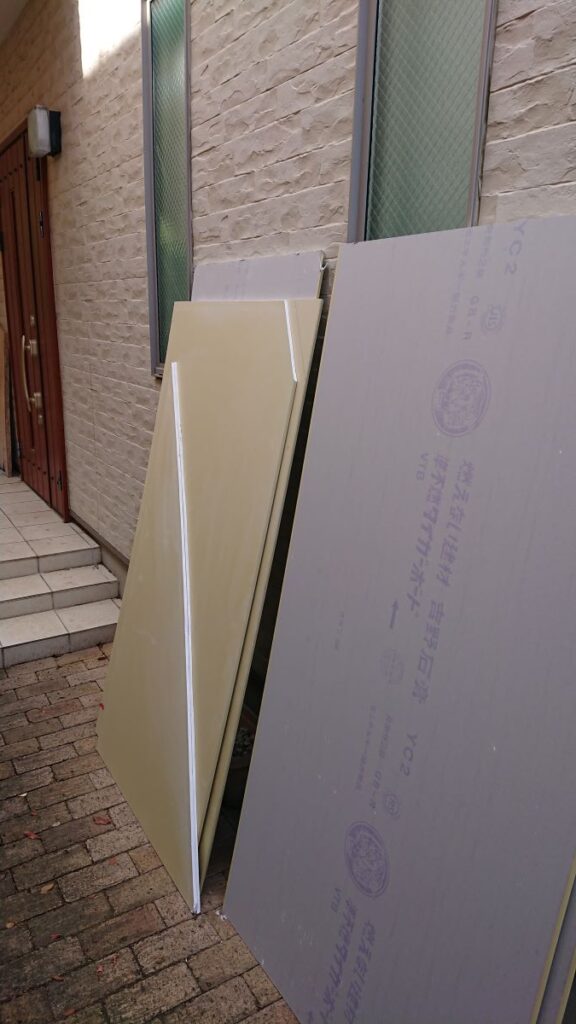
- 石膏ボードも同じく、定尺1820mmX910mmを購入して、ロスが少なくなるように配置
- スレッド、ビスは、ボックスで購入した方が安い
- ロックウールは14p入りでしか購入できなかった。捨てるのも大変なので、バラがあればそちらの方がいい。
- 壁紙は割高だが、生のり付きを使用。素人でも綺麗に貼れるので非常に楽。
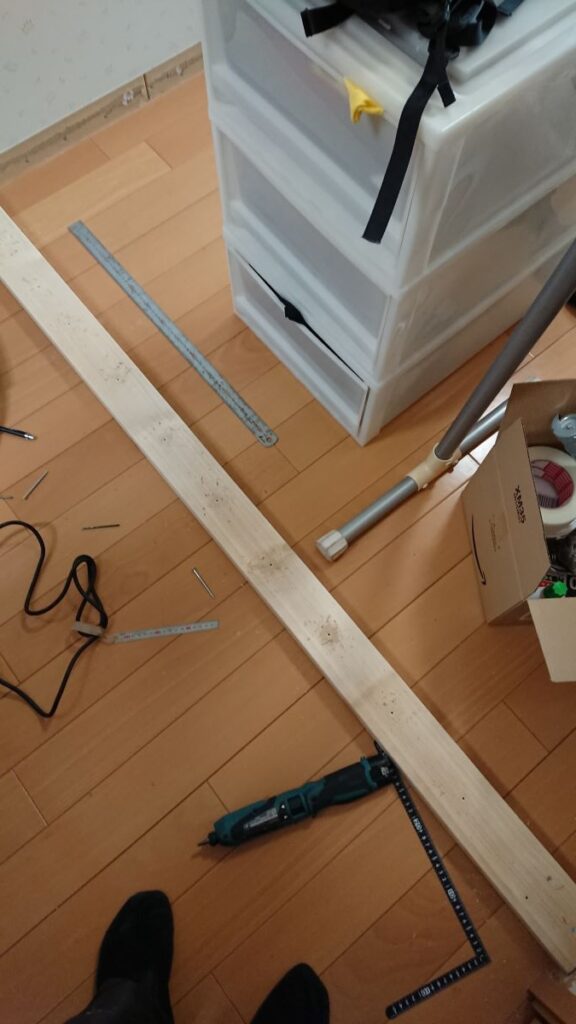
部品作成
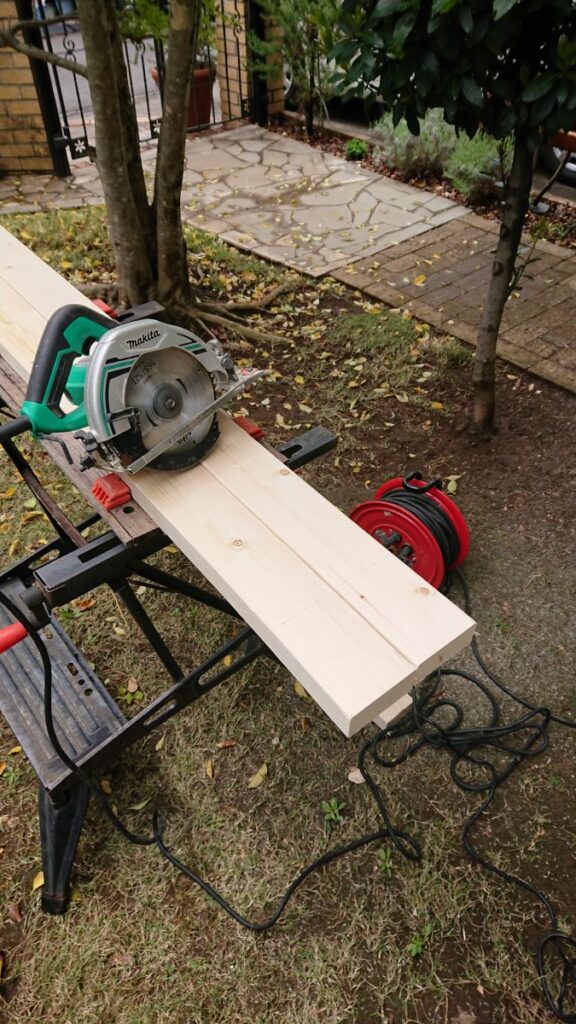

同じ長さのものは丸鋸で同時にCut
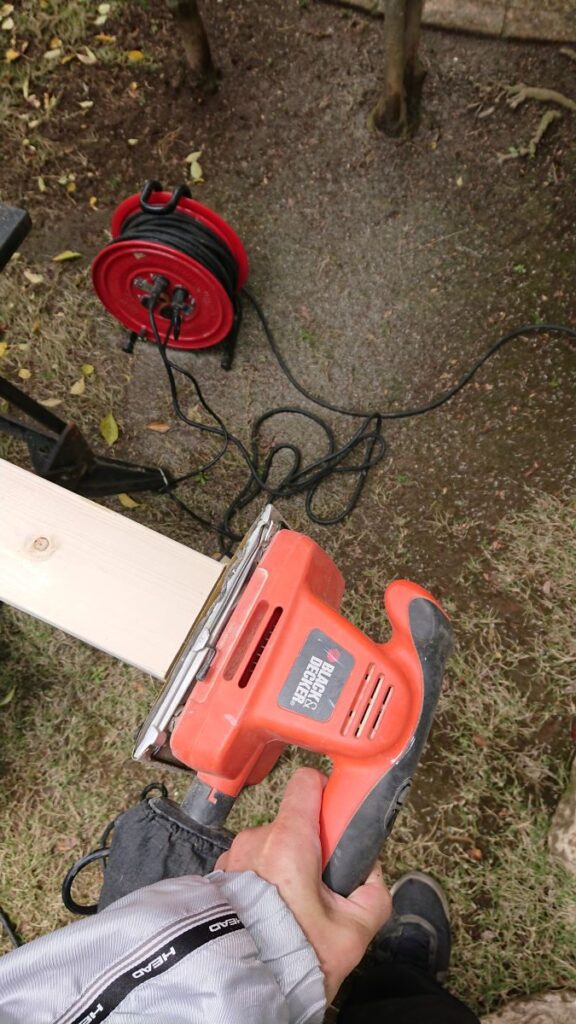
端面はオービタルサンダーで処理
勾配天井の角度に丸鋸の角度を合わせる。(誤差の影響大(泣))
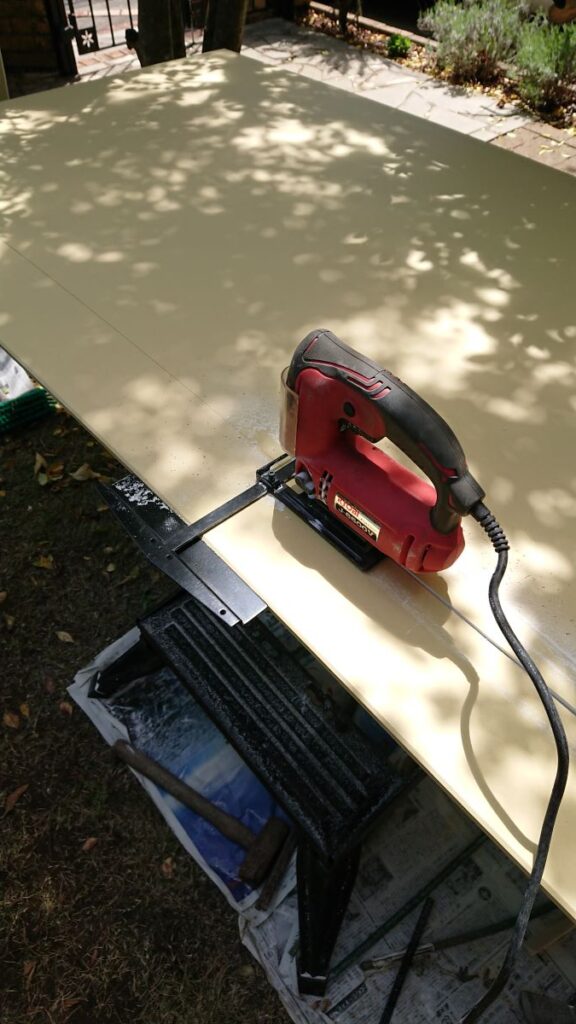
石膏ボードはジグソーを使用。丸鋸だと割れやすいので注意。
石膏ボード資材
2X4資材。組立は部屋で行う。(事前に組むと入らない)
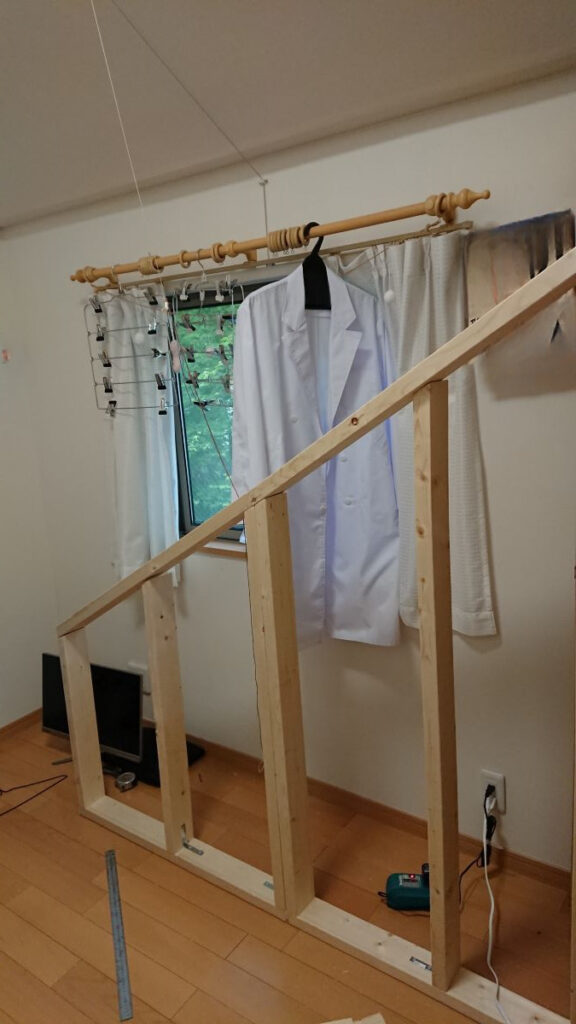
フレーム組立
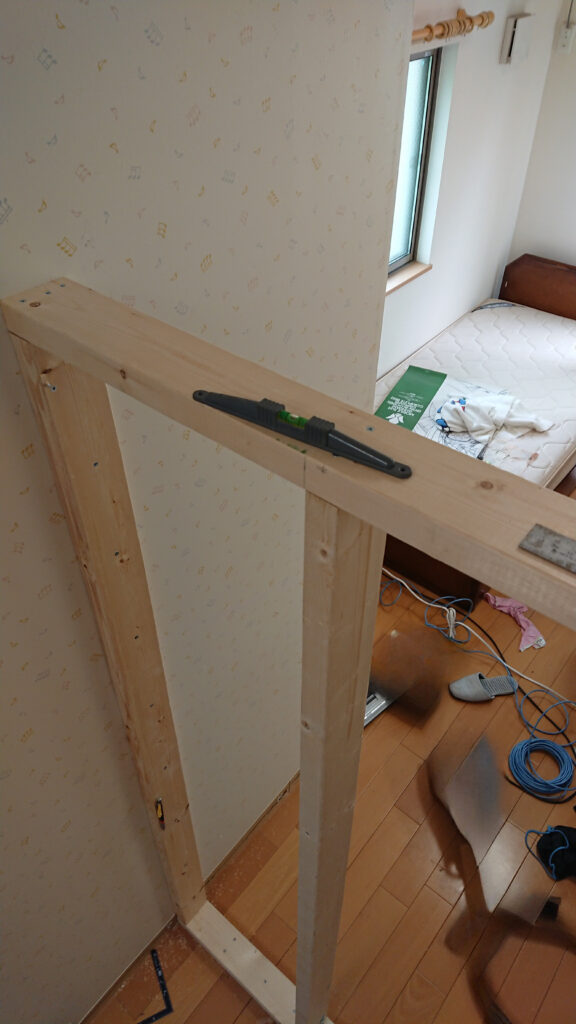
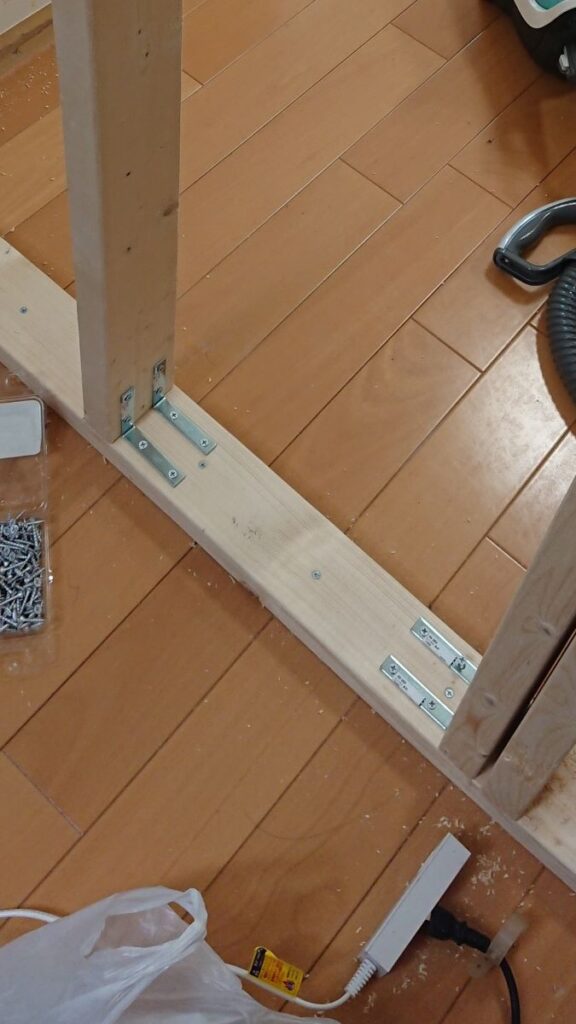
底面の板を床に固定
側板を壁に固定(下地に木部があること)
立ち上がりは適宜金物で補強
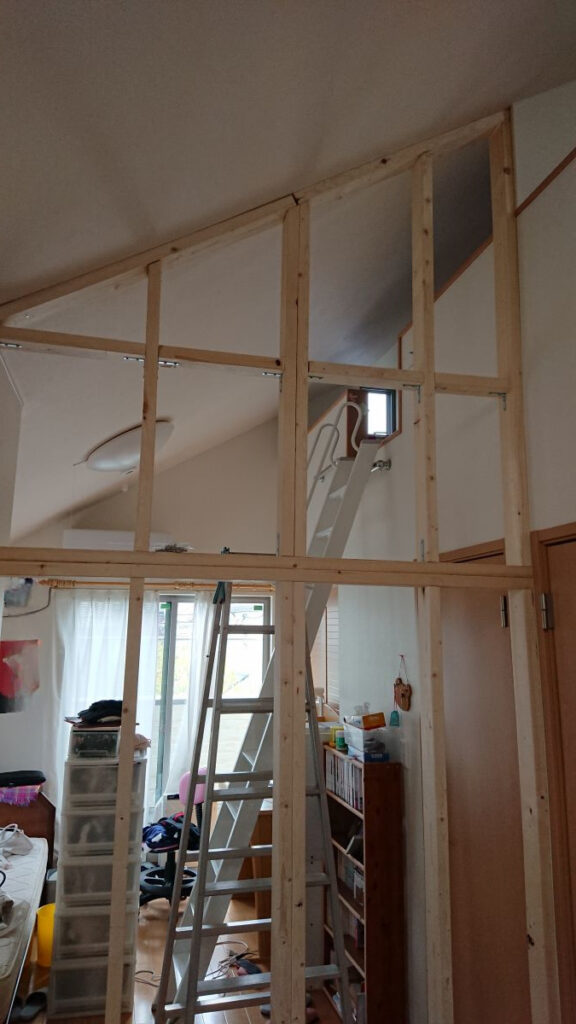
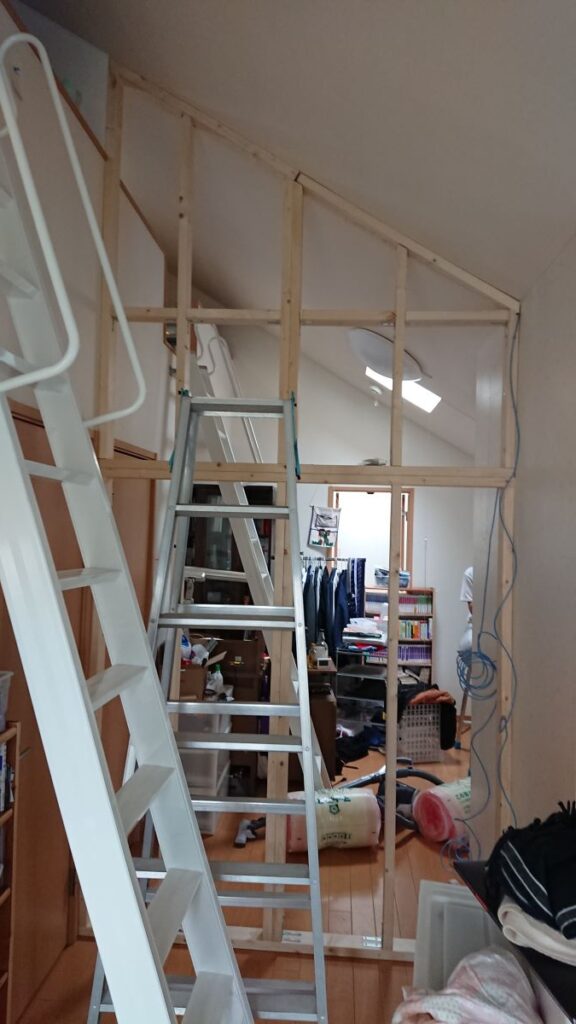
勾配天井部分を組み上げる
棟上げ
反対側から
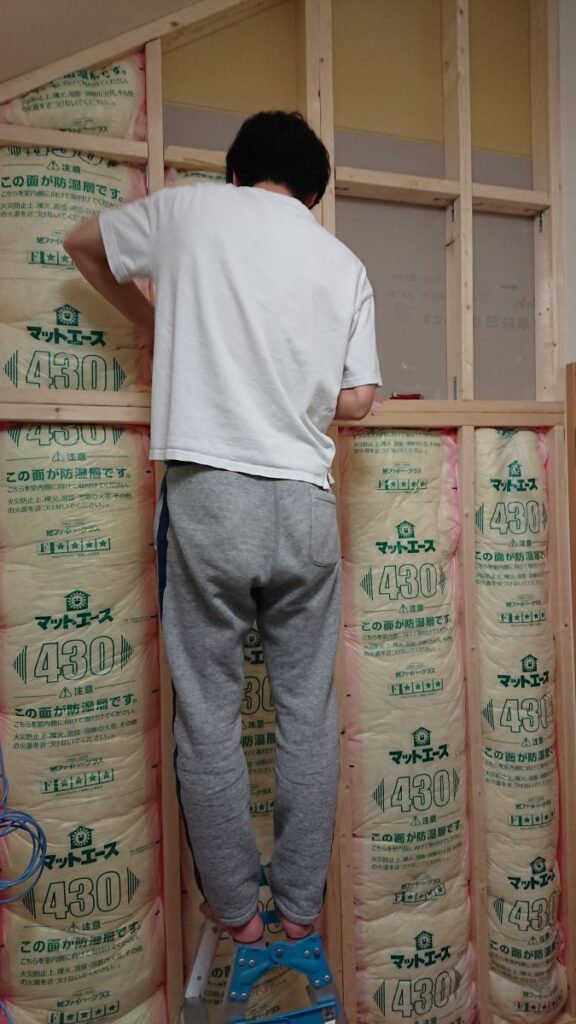
石膏ボード、ロックウール取付
石膏ボードを片側に取り付ける
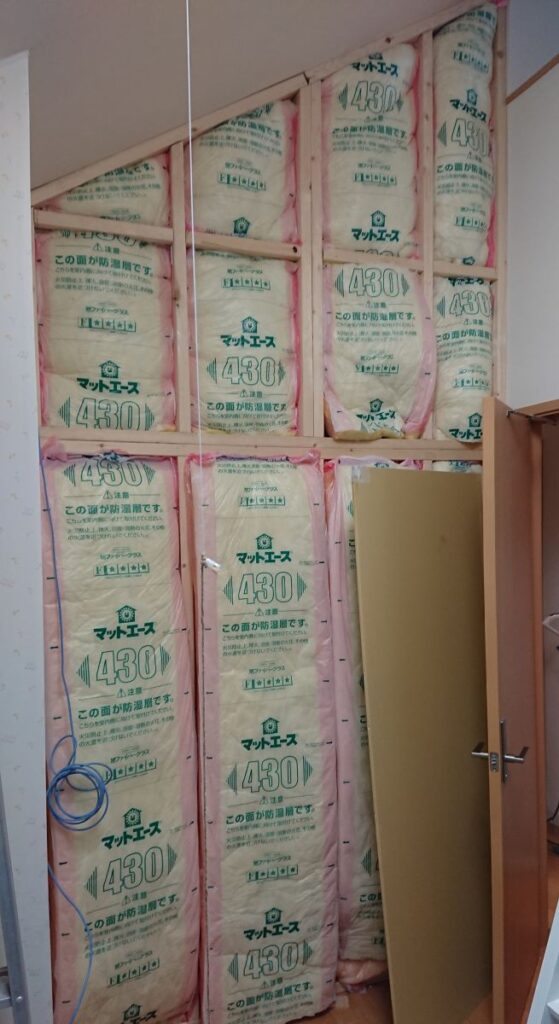
反対側からロックウールを取付
ロックウール完成
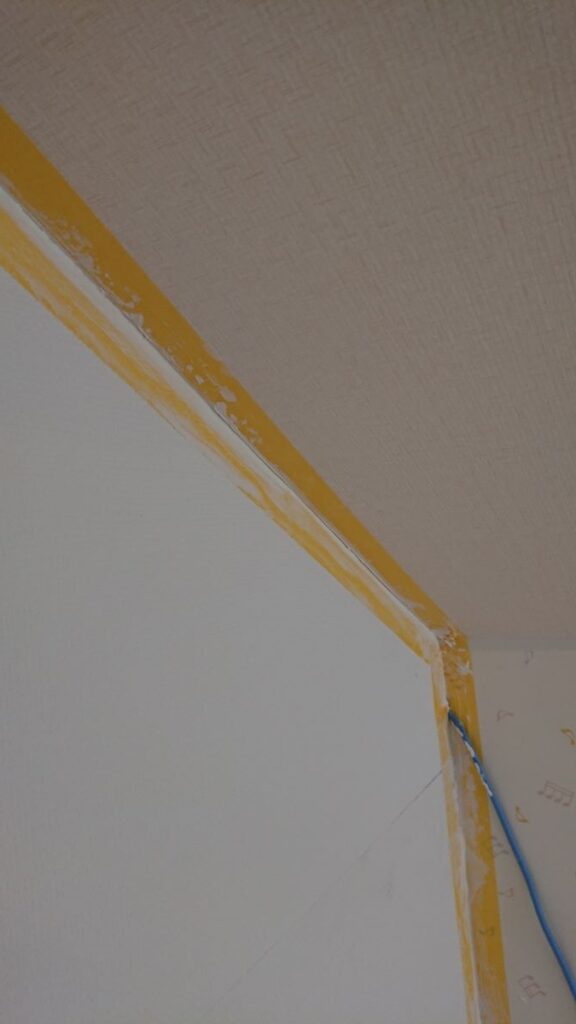
ボードの体裁処理
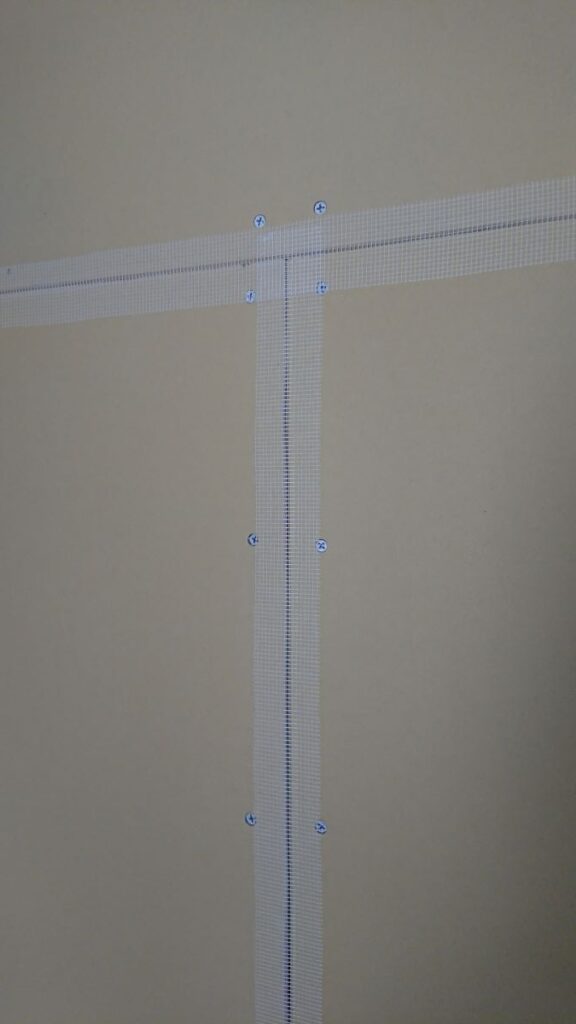
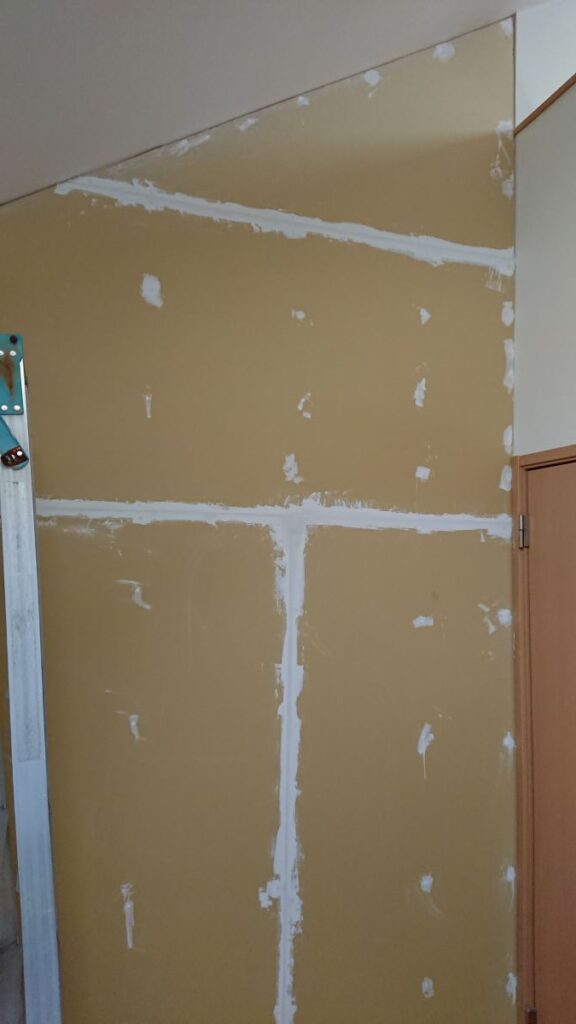
継ぎ目にファイバーテープを貼り付け
パテで段差を埋める。下塗り、上塗りで2回。
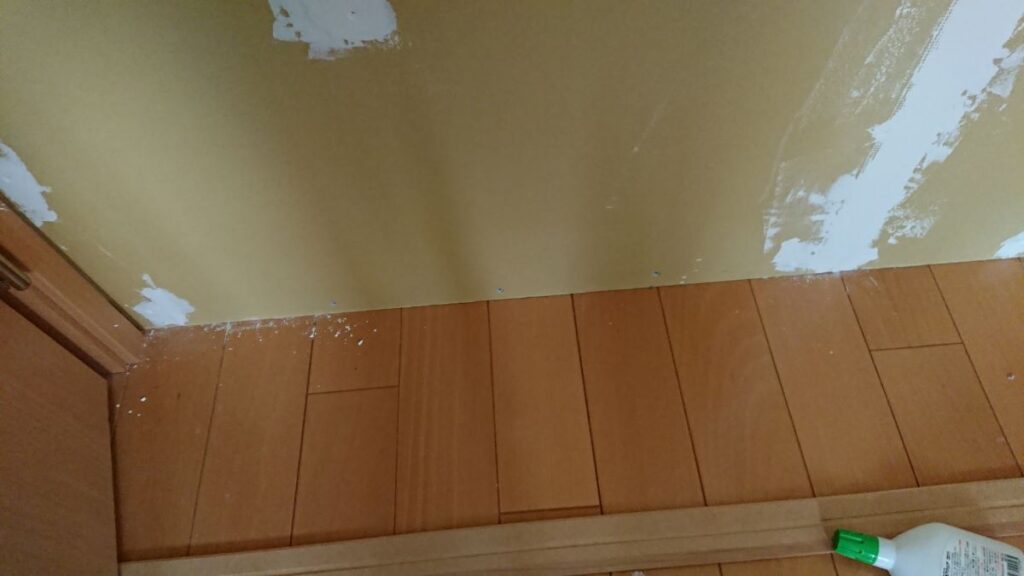
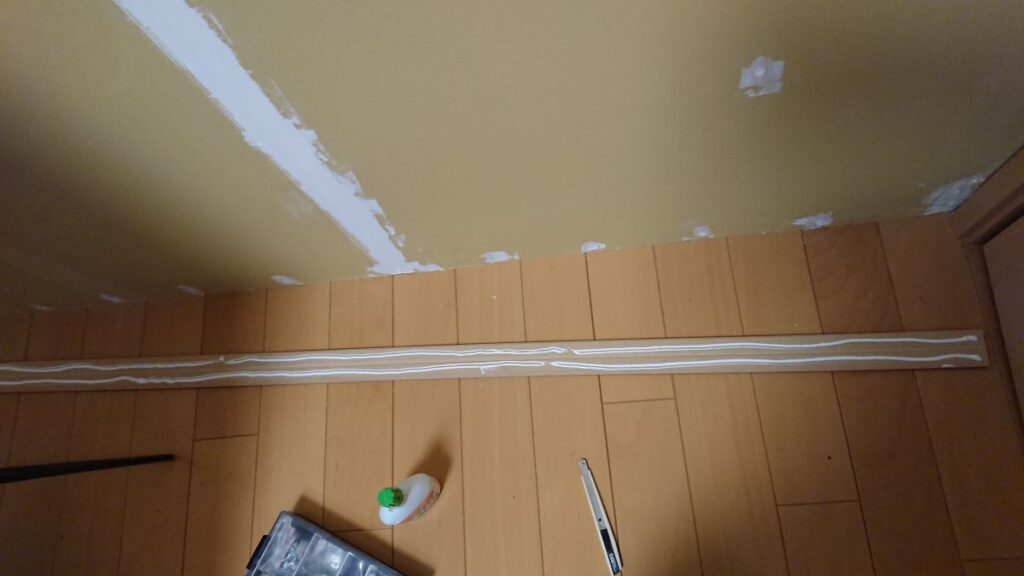
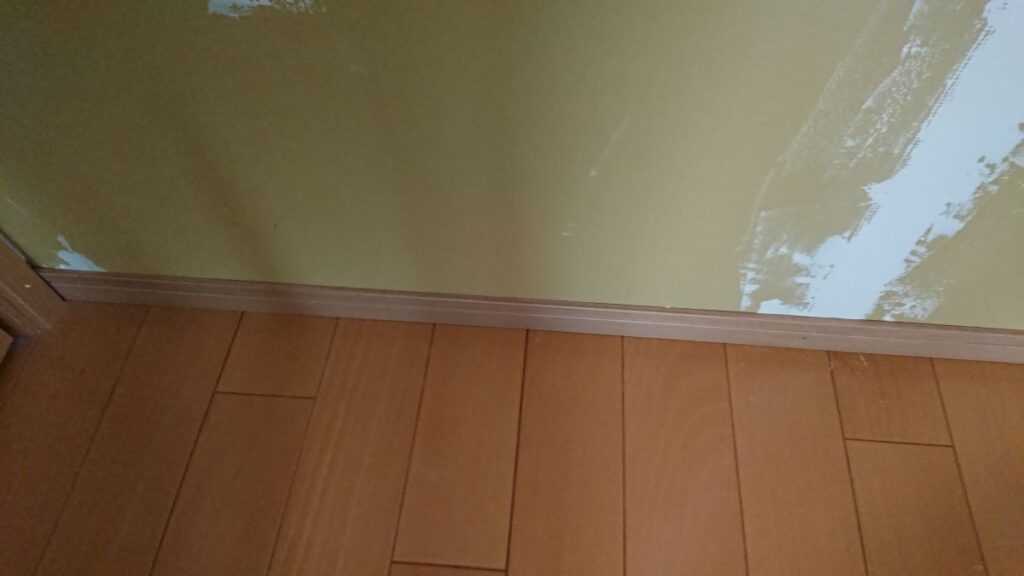
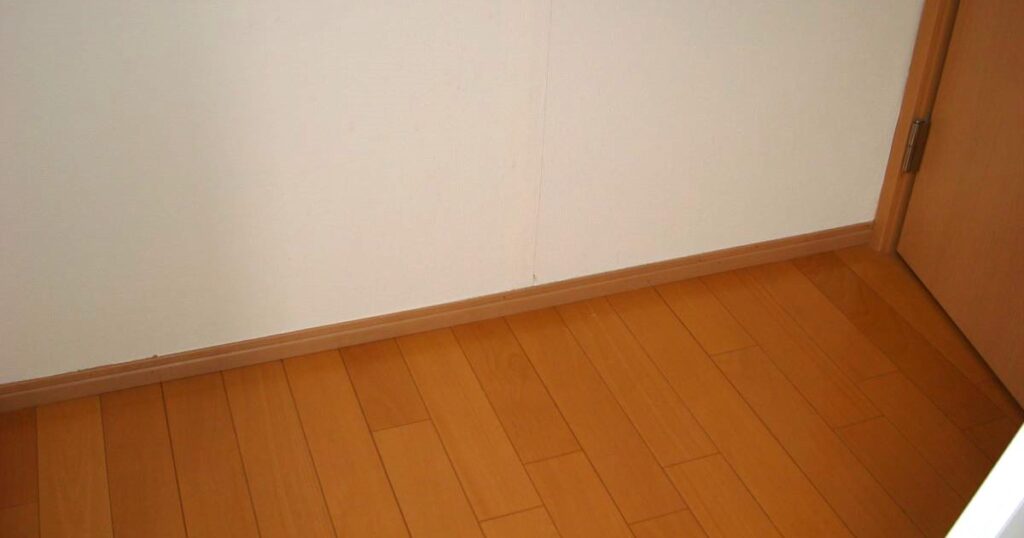
床との継ぎ目は幅木を施工
壁紙の施工
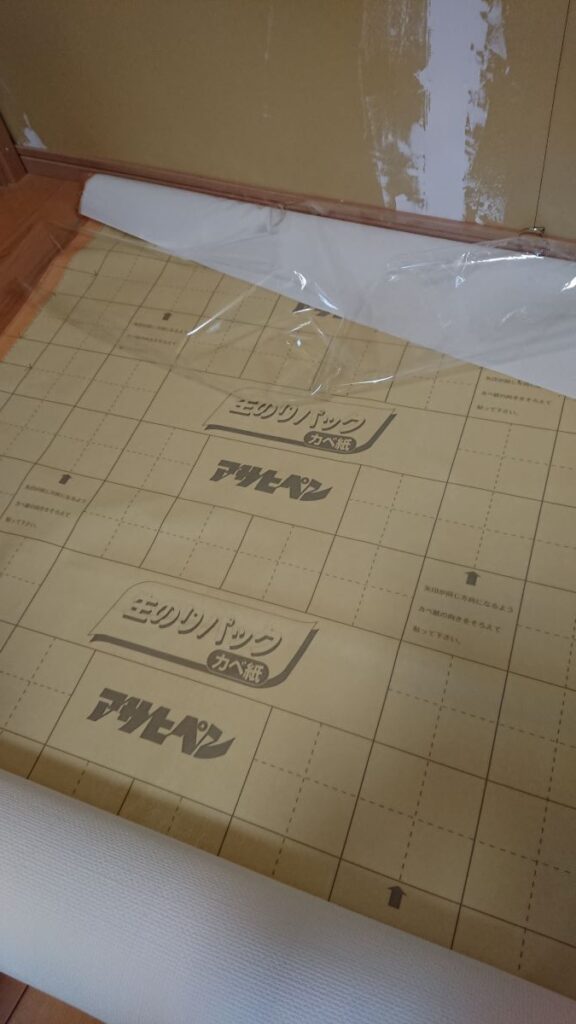
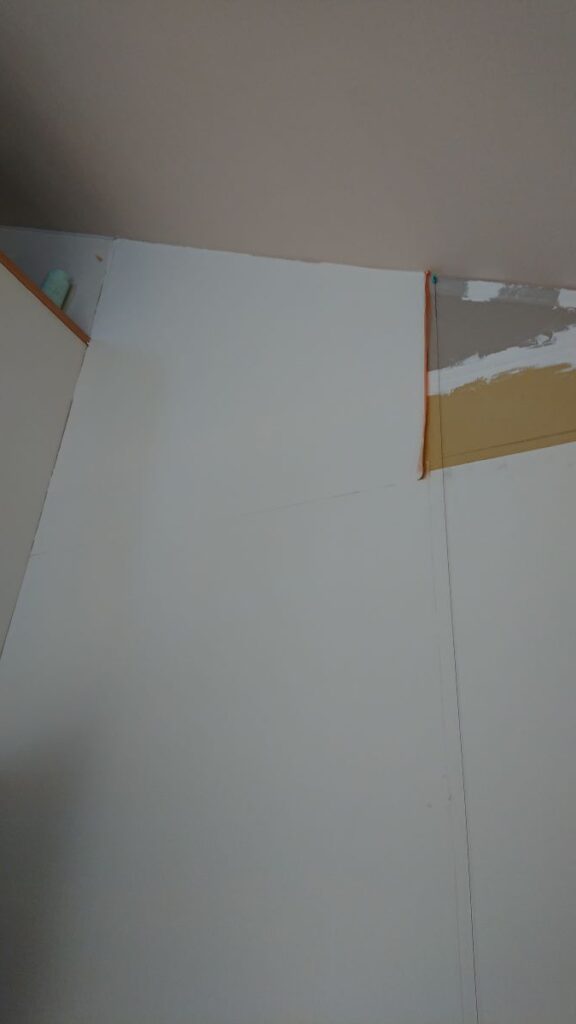
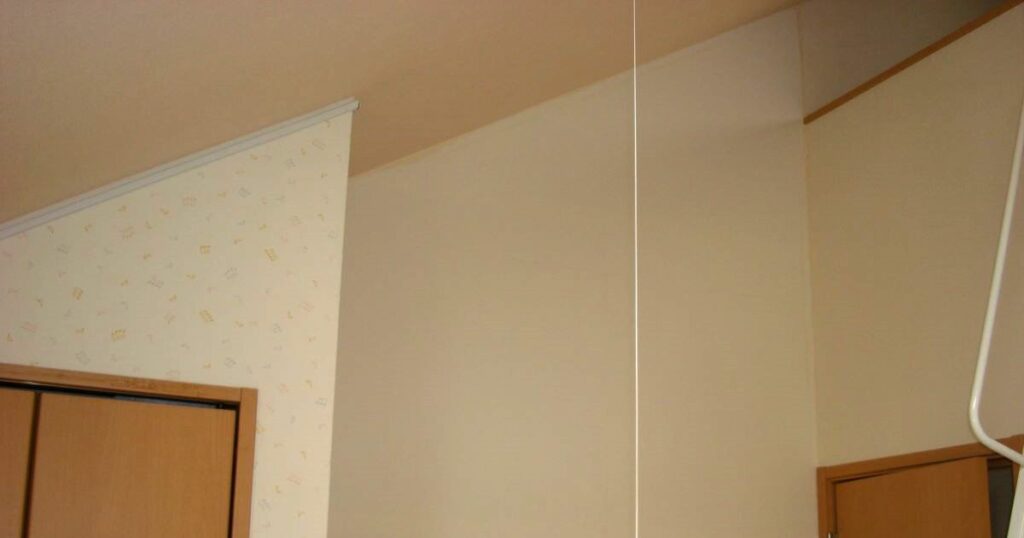
生のり付きの壁紙を施工。
糸を垂らして垂直だしをする
隅部をパテで埋めるが壁紙は養生テープで保護
LAN配線
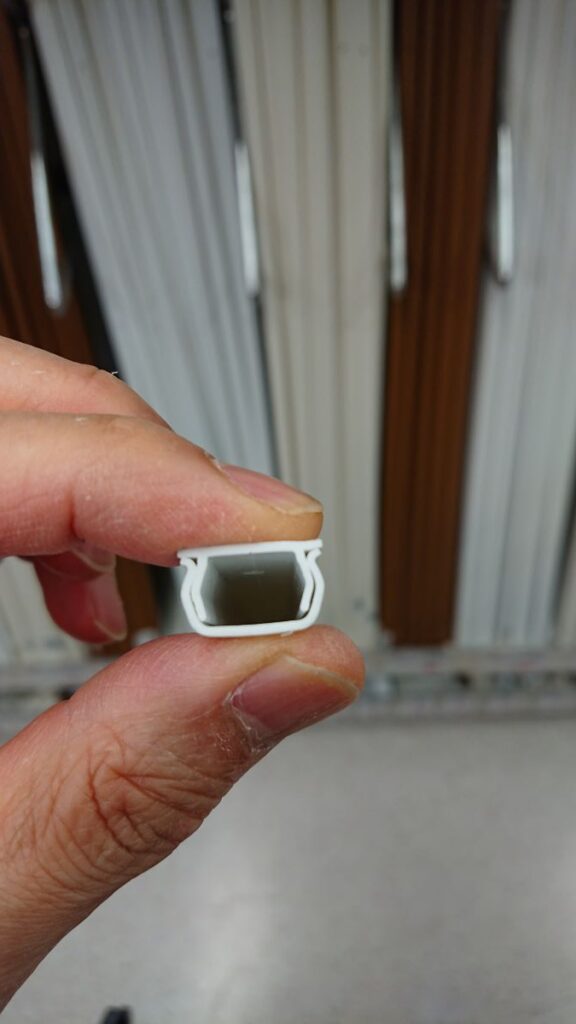
片側の部屋にしかLANが無いので部屋内を隠蔽配線する。カバーを利用
送り出し側の部屋(スイッチングハブ設置)
受け側の部屋
完成

時間
- 測量 10分
- 設計 1時間
- 材料選定、資材リスト作成 2時間
- 買い出し 1時間 (ホームセンターは我が家の場合、車で3分)
- 材料加工 2時間
- 組立 4時間
正味必要時間はこんなものだと思いますが、疲れるので、2日ぐらいかかります。但し、組立は始めたら完成させる必要があるので、朝から気合入れてやる必要あります。
勾配天井でなく、スクエアの部屋であれば、これの半分以下の時間で済むと想定。
火災警報器は最初からそれぞれのエリアにつけてもらってました。
費用
- 材料費総額 ¥22740
通常、部屋の仕切りにはロックウールは入れないので、スクエアの部屋の場合で ¥15000 が目安。
使用機材
- 丸鋸
- ジグソー
- 電動インパクトドライバー(ワイヤレス)
- オービタルサンダー
- 電動ドリル
- 各種ヘラ
機材はAmazonで購入