
Contents
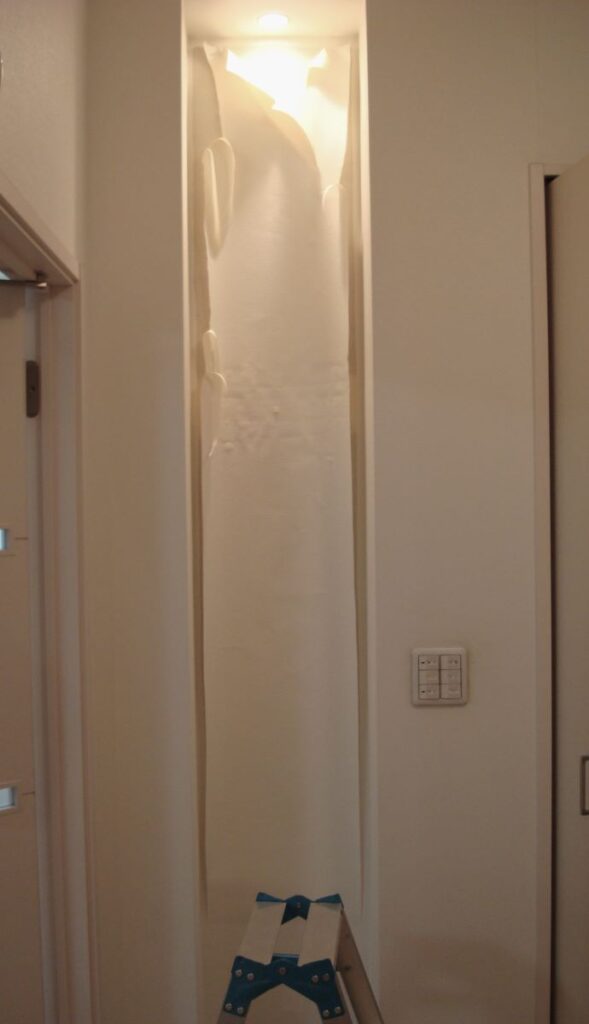
ニッチェ用の凹みを事前に確保

設計時にニッチェ用の凹みを用意
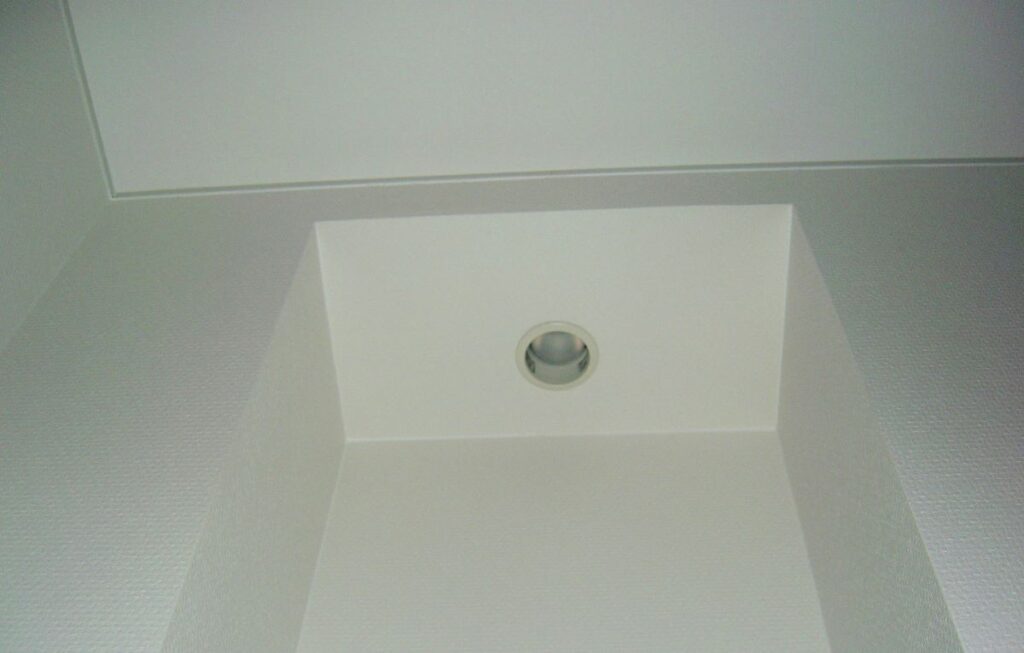
壁くぼみ内の上部にダウンライトを設置
ニッチェ用のくぼみは、建物設計図で開けれれる部分を確認。単純に閉じられているだけの空間はたくさんある。
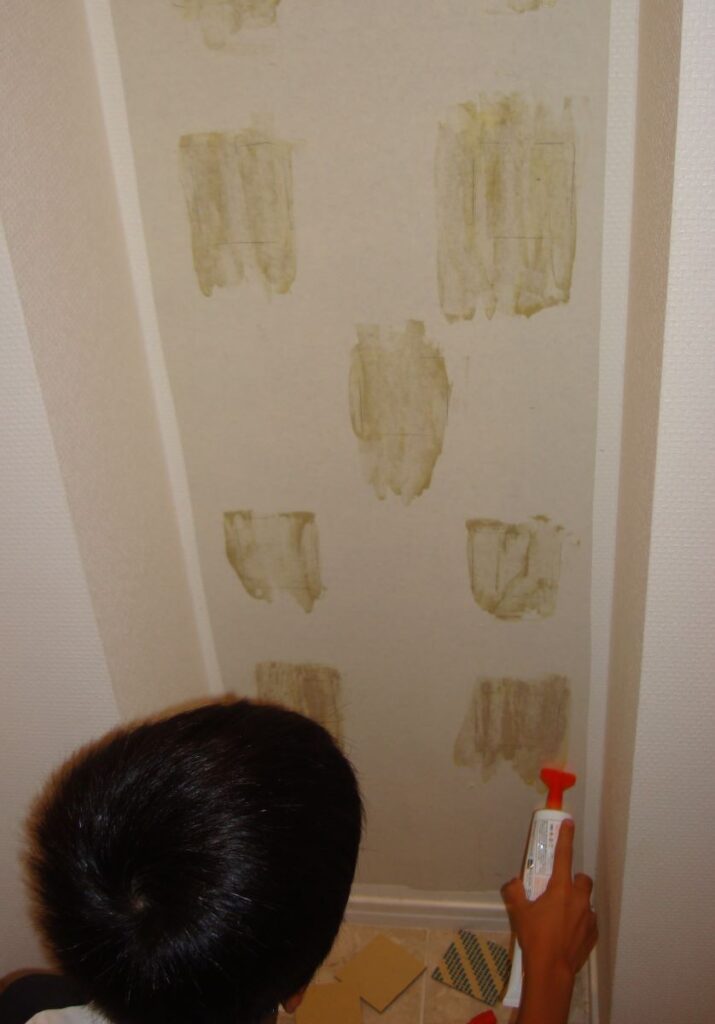
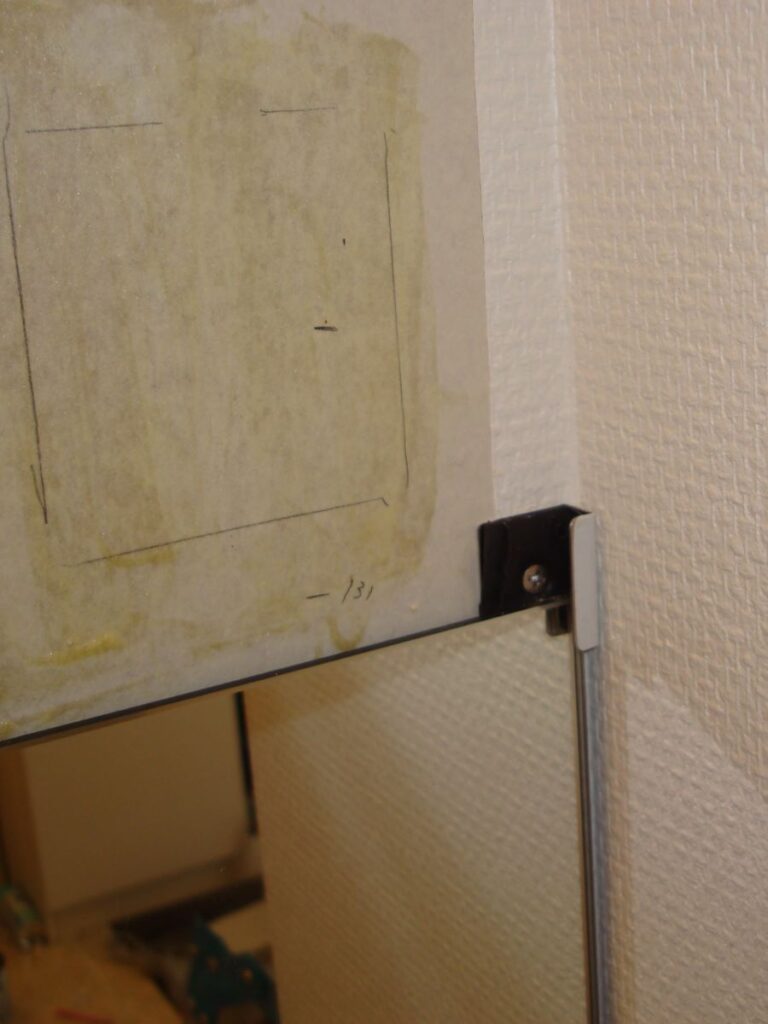
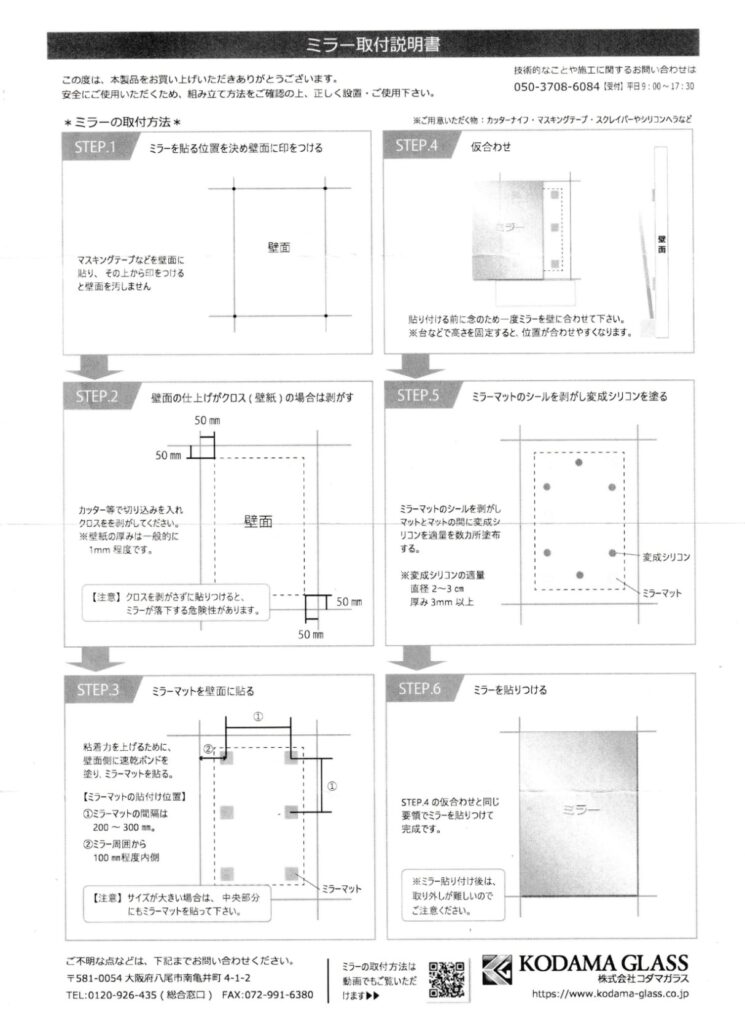
壁紙を剥がす
鏡は、接着強度確保のため、ボードに直接つけるので壁紙を剥がす
鏡の取付は接着シートとボンドを併用、壁から少し浮くので壁紙は鏡の幅より小さく剥がし、オーバーラップ部分を10mmぐらい確保(見映えのため)
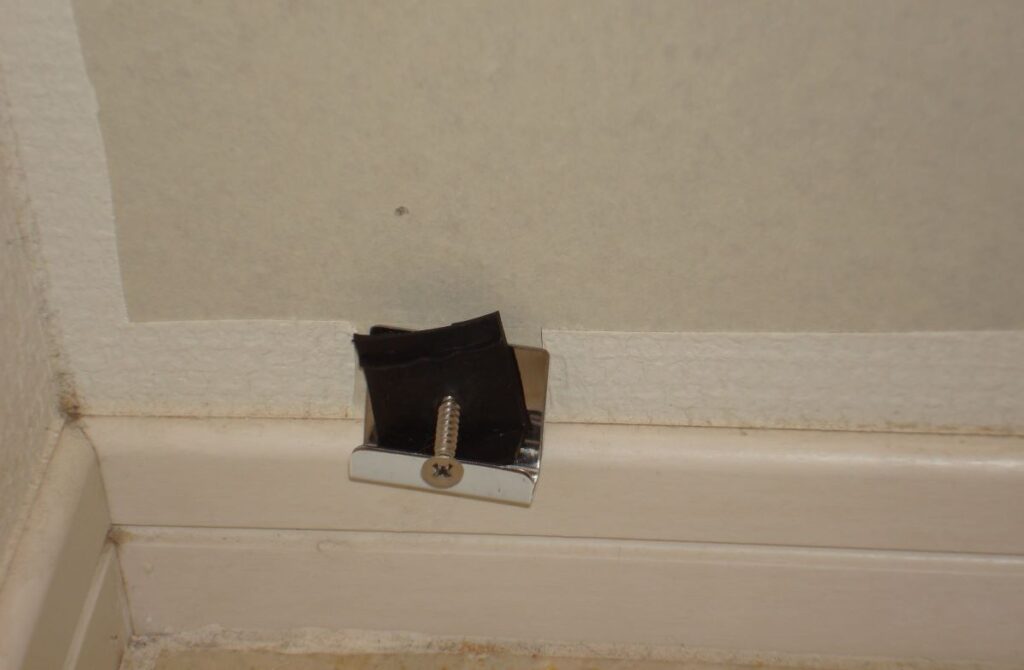
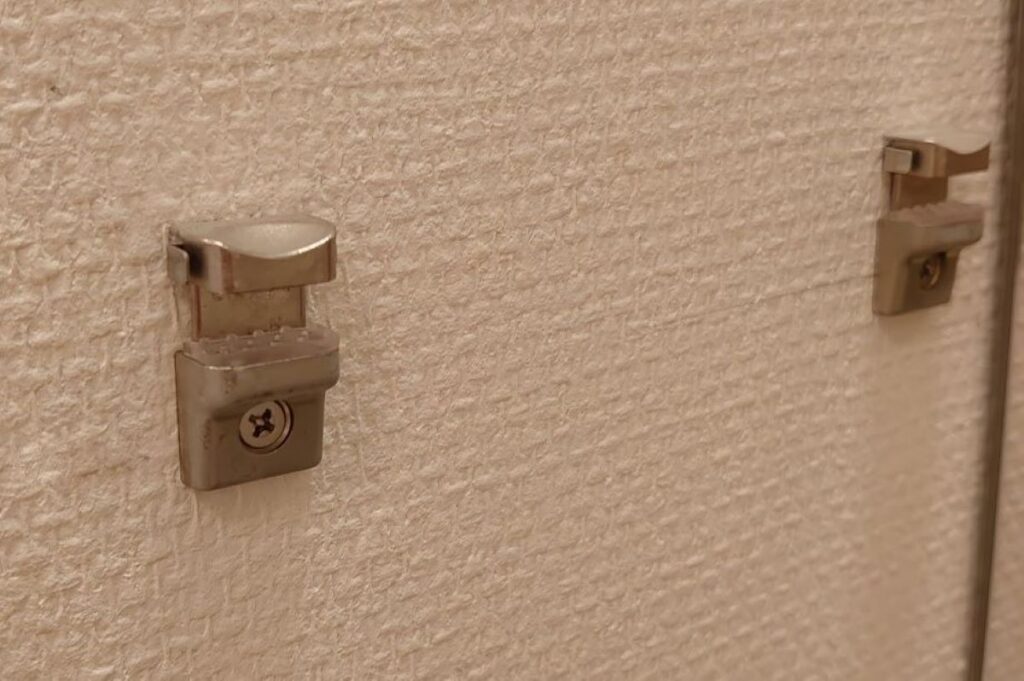
鏡受け用金具の取付
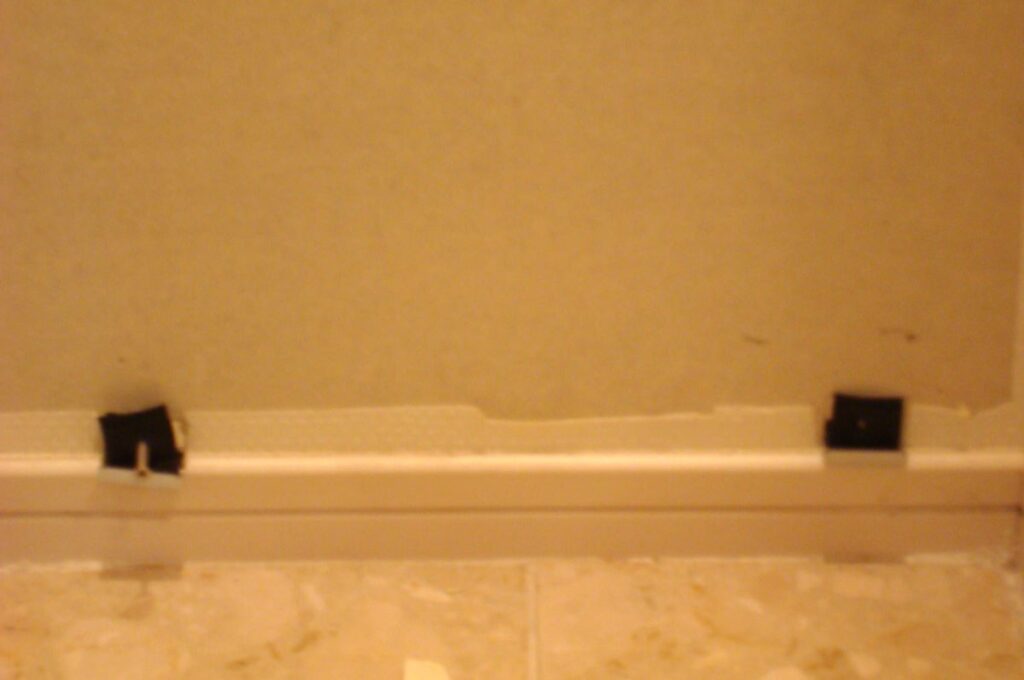
鏡の上下左右に4ケ所設置
ボード奥に木枠のある場所にねじ止め
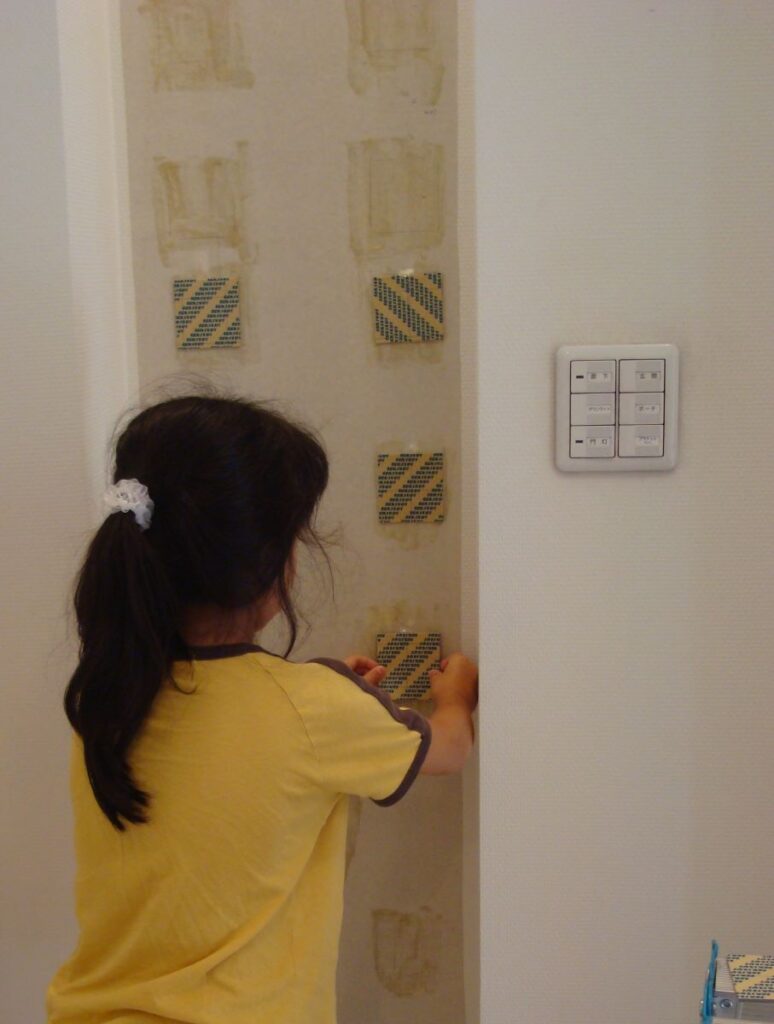
両面テープ用下処理
両面接着材を配置する場所をケガキ、下処理する
両面接着剤取付
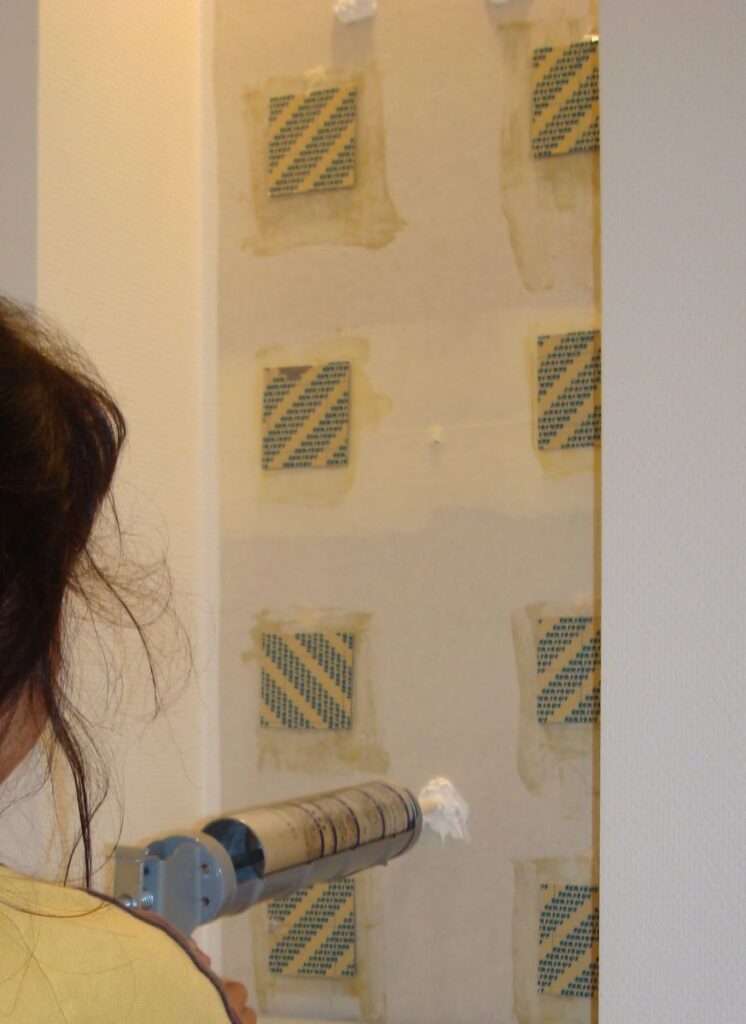
両面接着シートを取り付け、加圧
コーキングガンで両面シートの間に接着材を併用
鏡の設置
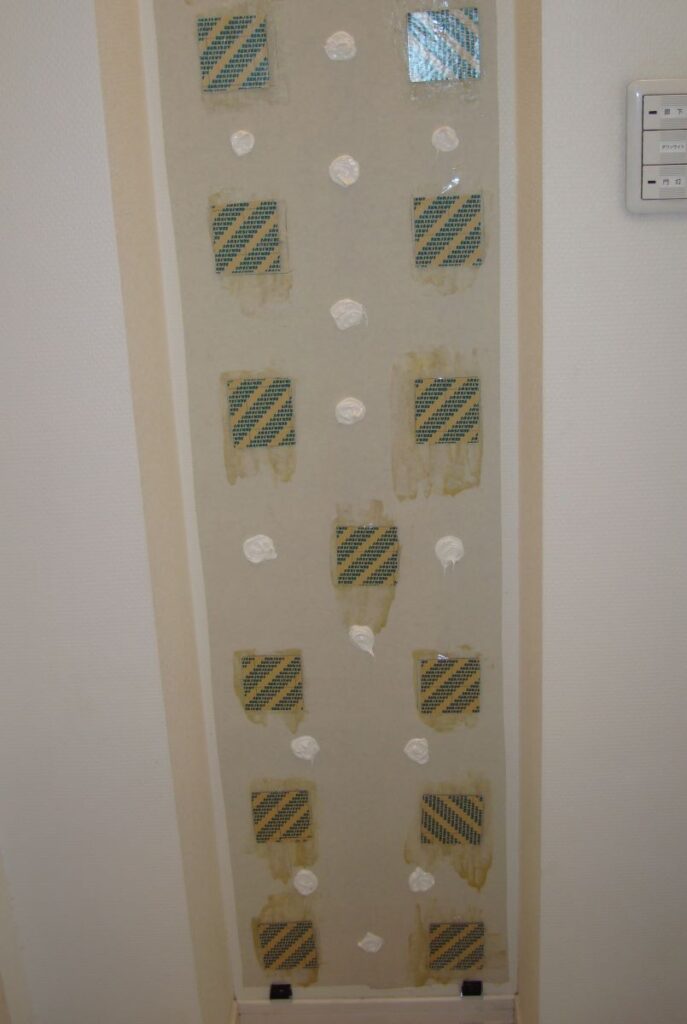
前処理完成
鏡の設置の準備完了
ガラス取付、押圧
金具で保持
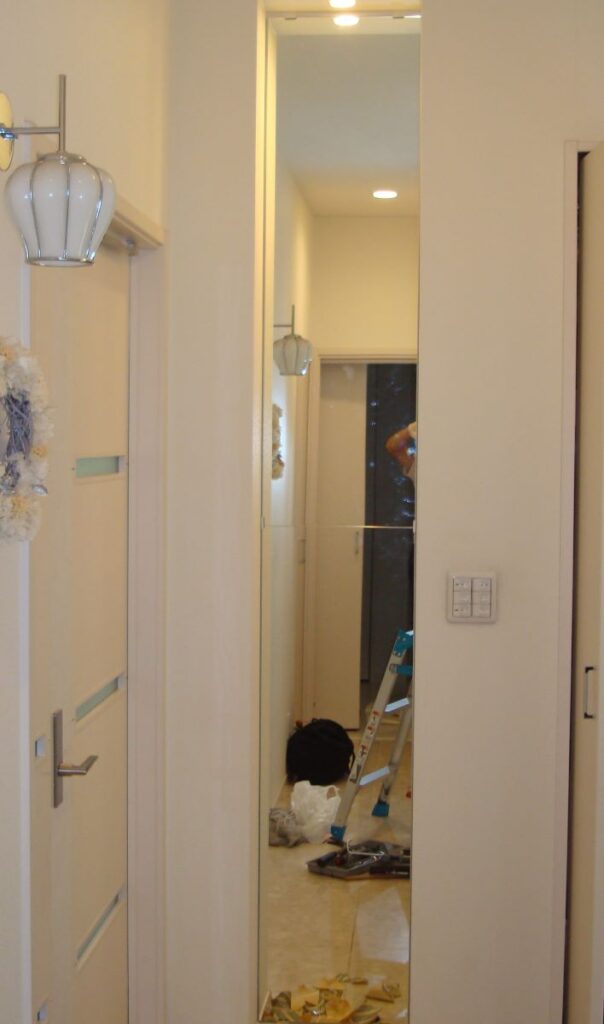
金具は上下に設置。鏡は2分割で設置のため、接合部は横を支える
鏡を上下とも設置終了。
鏡の接合部には棚を設置して体裁を確保
ガラス棚の施工
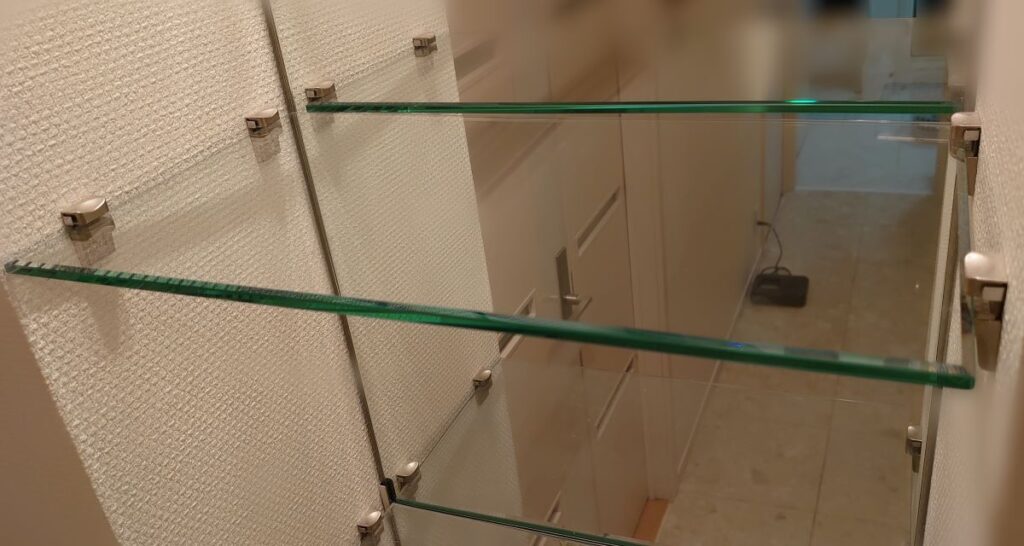
棚用の金具を取り付け
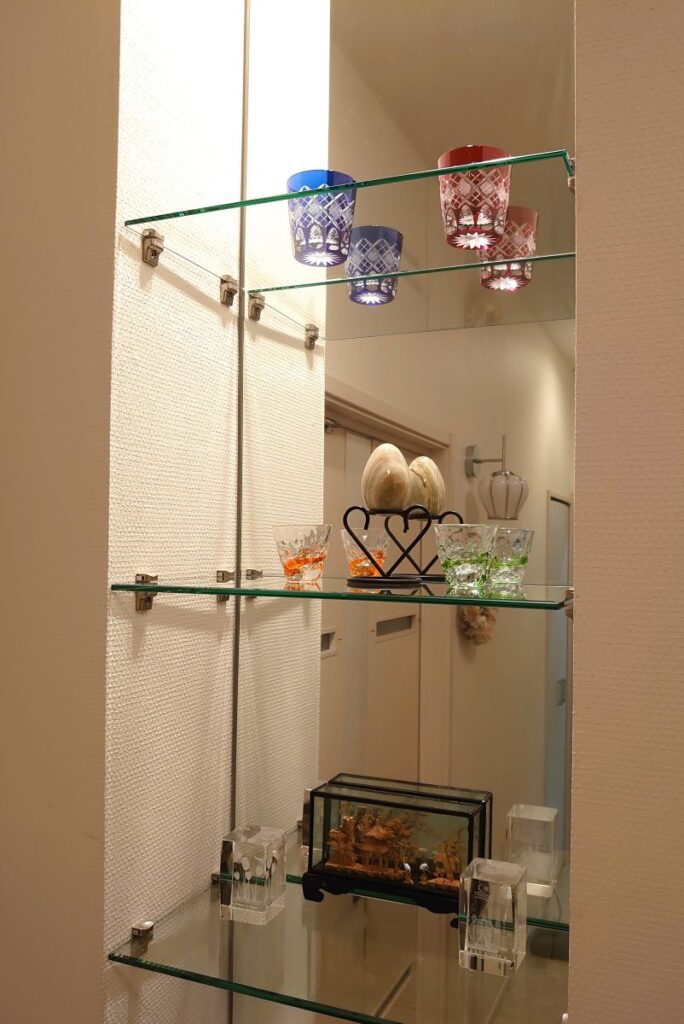
強化ガラスの棚を取付。端面は非均等のC面カットが入っていてキレイ。
鏡面ガラス棚のニッチェDIYの完成

資材詳細
材料はコダマガラスさんのものを使用しています。両面テープ、接着剤も合わせて購入できます。
あわせて読みたい
株式会社コダマガラス | オーダーサイズのガラス・鏡を全国へお届けします
オーダーサイズのガラス・鏡を全国へお届けします
使用した機材
- コーキングガン
- 電動ドライバ
- 水準器
Amazonで購入